Rather than use a traditional pattern to make your garment, the option of draping allows freedom for designing. Viewing the relationship of the fabric to the body as you create your garment allows you to intimately create custom clothing. Follow a few tips to learn how to begin draping and toss aside your boring old patterns.
Things You ‘ll needed
Dress form Fabric pencil or chalk
Pins Pattern paper
Fabric Sewing machine and materials
Step 1:
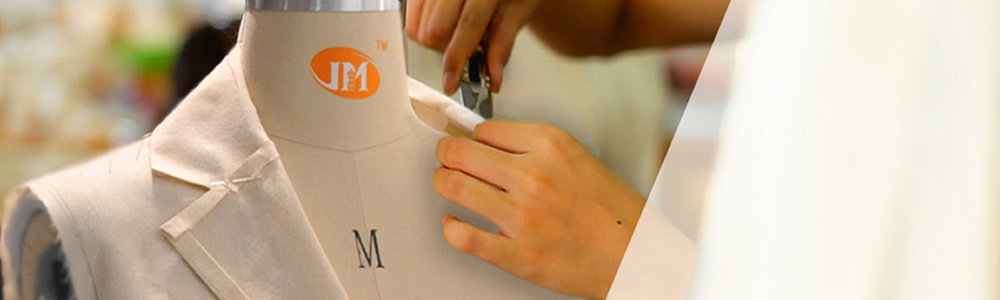
Prepare your dress form. Determine whether you are designing for yourself or for another. While a dress form is the perfect way to drape fabric for your own styles, include your model if you are designing for someone else. Get comfortable with the measurements of your dress form and compare them to your final product; your dress form should match the body you are designing for. It also helps to mark the center line of your dress form for clear and accurate draping.
Step 2:
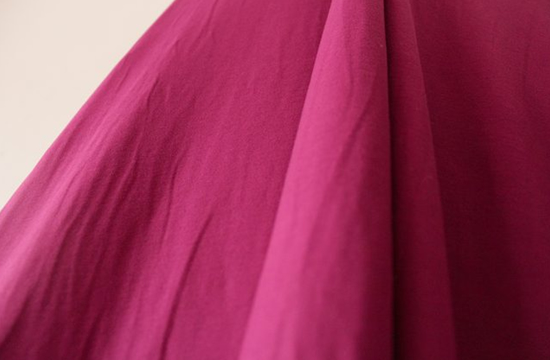
Purchase a light fabric to begin draping and avoid more rigid fabrics until you are comfortable with the methods of draping; a light fabric is easier to work with. Consider starting with a simple design. Sleeveless dresses or tops are a good starting point. Draw your design or have a clear pattern in mind before you begin.
Step 3:
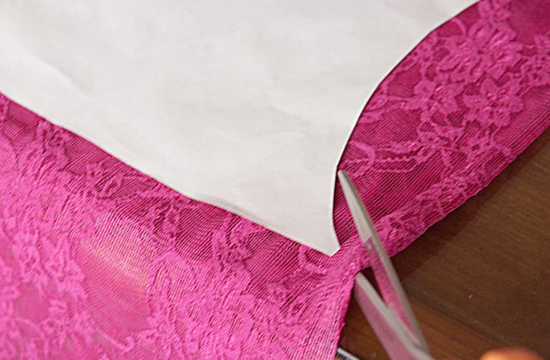
Begin draping your fabric; just as it sounds, draping is literally a freehand placement of your fabric on the dress form and adjusting or cutting into a pattern of your choice. Before you imagine a shape, wrap your fabric in the style of your future garment and be sure you have enough fabric.
Step 4:
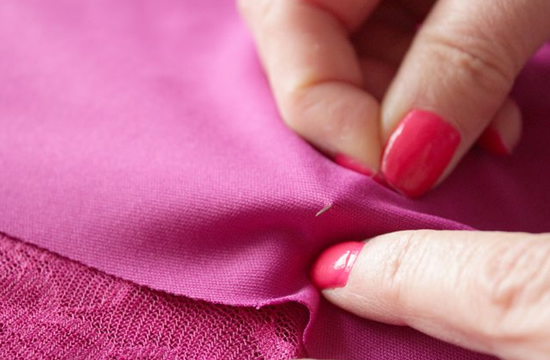
As you lay the fabric over your dress form, make sure your center seam line is accurate and any pattern or grain in your fabric matches up on either side. Use pins to secure your fabric in place, but never pull or tug at it. Cut and pin pieces of fabric into a pattern, based on how you see the fabric fitting on your dress form. As you proceed, your garment will take a shape.
Step 5:
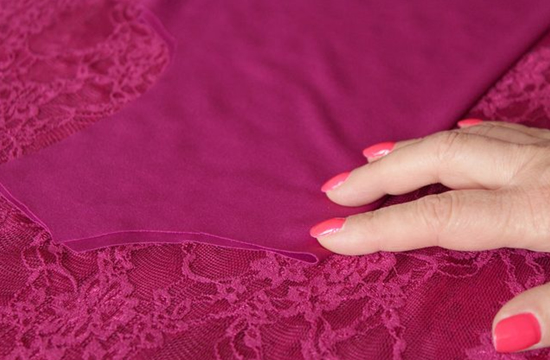
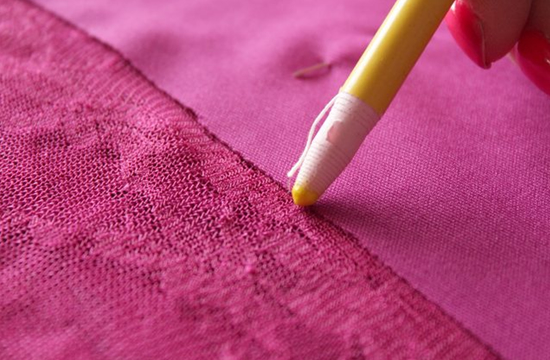
Using a fabric pencil or chalk, draw on the seams and other sewing instructions, like darts. Taking your fabric off your form, use your markings to trace a pattern on your pattern paper and include the space of at least 1 inch for your seams and other technical allowances. Cut your fabric to match your pattern, and re-pin onto your dress form for adjustments. Use a temporary stitch until you ensure the fit of your garment, and then machine stitch your final garment.
Tips & Warnings
Fabric draping, unless experimental, relies on a basic understanding of how a traditional pattern works. Familiarize yourself with the shapes of a pattern before you try draping.For first-time drapers, try marking your pattern lines on your dress form before draping, to guide your fabric.
Dress your dress form in well-fitting clothing of your own and mark where the waistline and neckline fall